Building and provisioning a simple Super Micro 1U server.
Written by Eduardo Novoa.

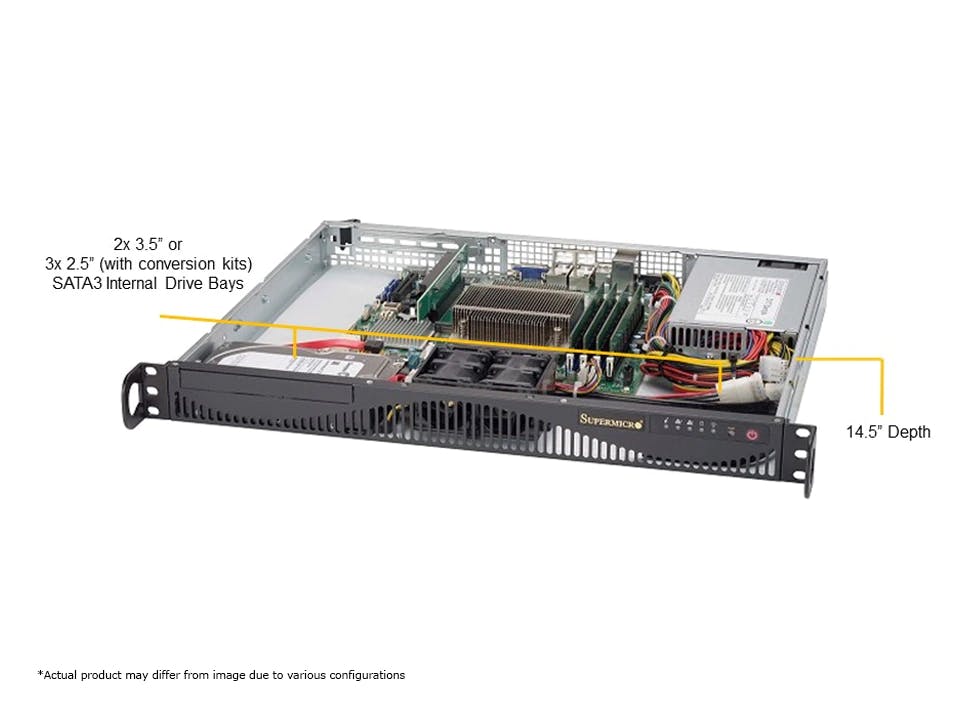
This will be my first attempt to publish a small tutorial on building and provisioning a server and deploying it on the data center floor. I hope this is informative and useful to my fellow technicians. In this tutorial, we will keep things relatively straightforward. We will be building and provisioning 1 Super Micro pizza box server.
****Step 1: ****Aquire an empty super micro pizza box chassis, as building it yourself will gain you valuable savings. Make sure you have all the standoffs in to secure the motherboard properly. Don't worry. Different size motherboards are indeed compatible with the chassis.
****Step 2:****I will obtain a server-grade ATX motherboard for this hypothetical build. We will choose an X11SCM-F Super Micro motherboard and an Intel CPU (E-2176G). A general rule of thumb is the Intelligent Platform Management Interface (IPMI) port will be separate from the rest of the onboard Network Interface Card ports (NIC).
Step 3: Obtain a compatible heatsink, ram (check mobo and ram compatibility), SSD drive, server fans, and appropriate wattage/form factor PSU. Now put it together. *Crutial's website has a great ram compatibility tool*
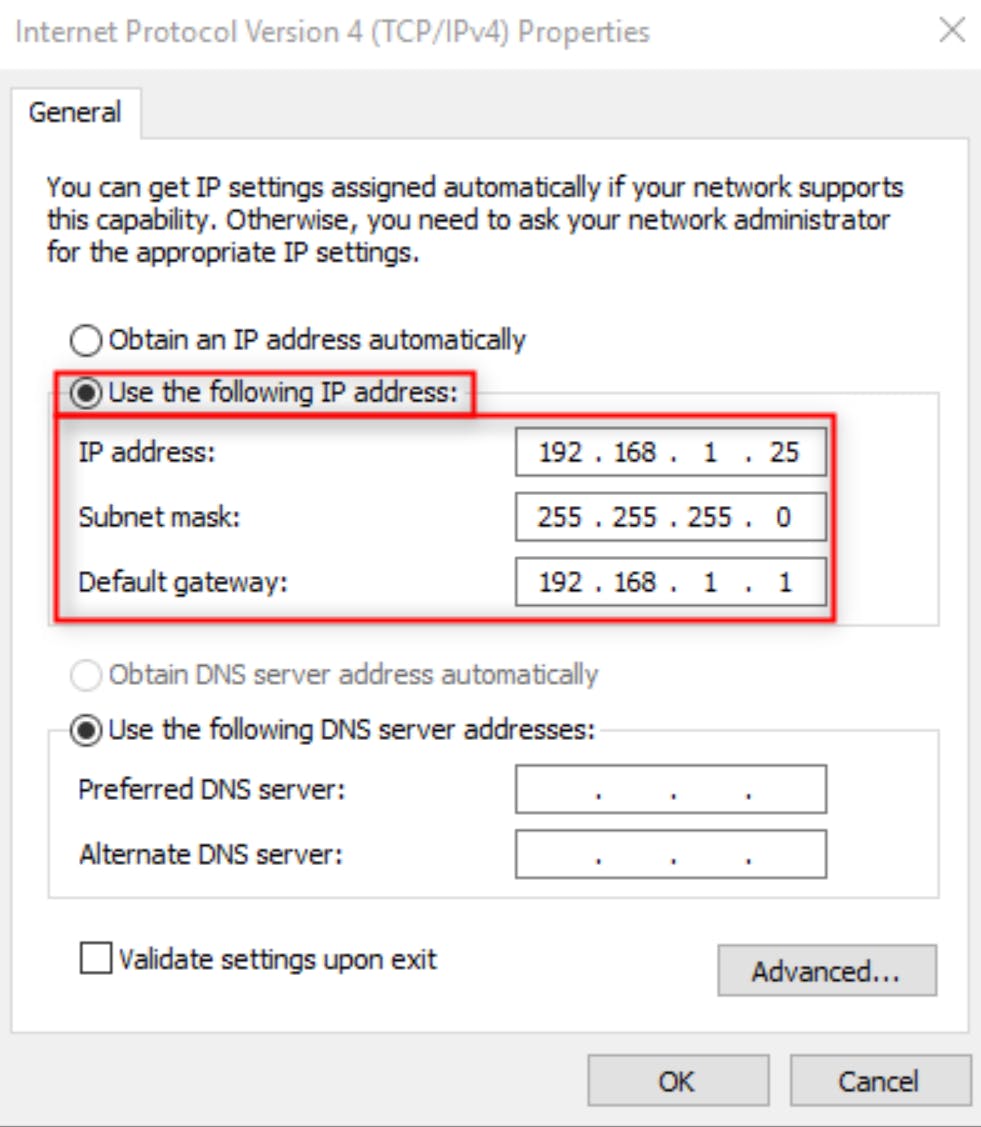
Step 4: This is where the fun begins! Okay, so we hopefully have a server that powers on at this point. Great! We need to set the IPs to access the IPMI managment interface. We must get these from our network administrators or network engineers. Subnet mask, gateway, and the source IP for our IPMI management, we set these in the BIOS under "IPMI" under "static IP." To log into the UI, you must have the default IPMI password (see motherboard for a label), and the username is usually admin. Once the IPs have been saved to the server you can reboot. Set up an intranet connection on your client computer and hop on the same subnet mask and gateway. Change your local source IP a couple of numbers down on the last octet of the IP. Select obtain IPs manually in the picture below.
NOTE: Avoid IP conflicts and don't use a IP that is live on another device
Step 5: So, hopefully, at this point, we can ping the IPMI IP and don't have an IP conflict, and we successfully log into the IPMI UI with the password on the onboard MOBO. Go to the super micros website and download the latest firmware for the BIOS and IPMI. Always flash the IPMI first, by the way. The IPMI can be flashed via the UI under the maintenance tab.
Step 6: Flashing the bios isn't as simple as the IPMI, however, as it is command-line based. Format a flash drive to FAT32 and extract the BIOS ZIP to the USB. Plug in the USB to the server and press F11 (enter the boot menu) upon boot, and select the option, UEFI Shell. In the CLI, type the following commands: FLASH.nsh ->FSO:->dir-> cd "your directory"-> **** "your directory" flash.nsh "your BIOS file" **** hit enter, and your BIOS should now be updating to the latest stable release.
NOTE: Check the bios file for a README.txt as the commands may vary.
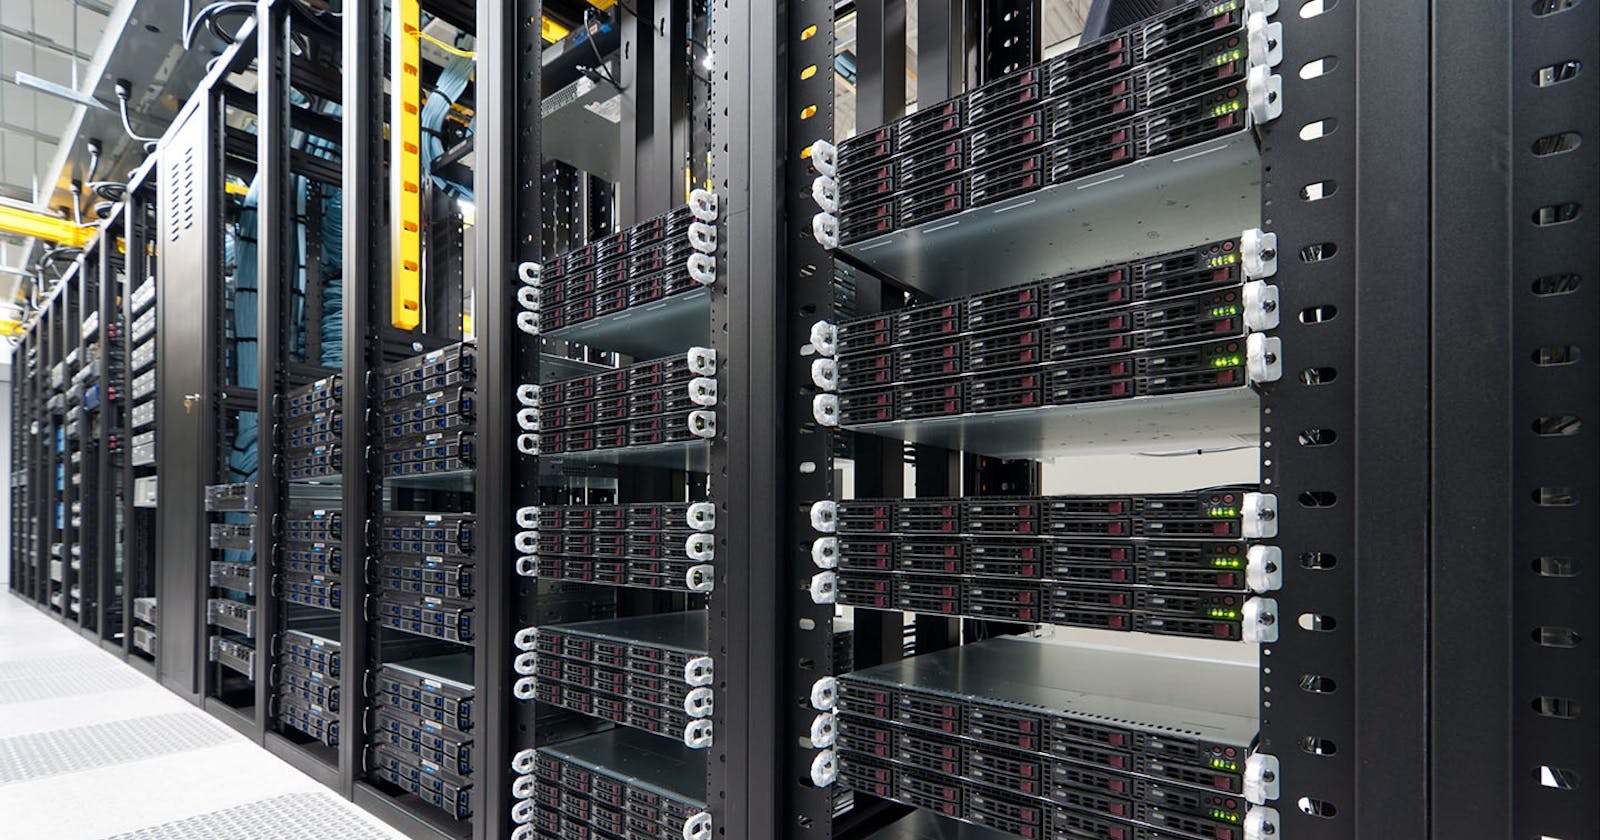
****Step 7: ****Deploying the server - Install the cage nuts to the correct square-holes in the cabinet/rack. Next, you should have already had the port assignments the network administrator provided you (IPMI, NIC0/NIC1). Rack the server and screw in the cage screws, some server sag is expected with these Super Micro pizza box servers. Run the ethernet cords through a well-thought-out route, as this is critical to the aesthetics and the next server installment in the cabinet. Engineer it right the first time, take your time.