
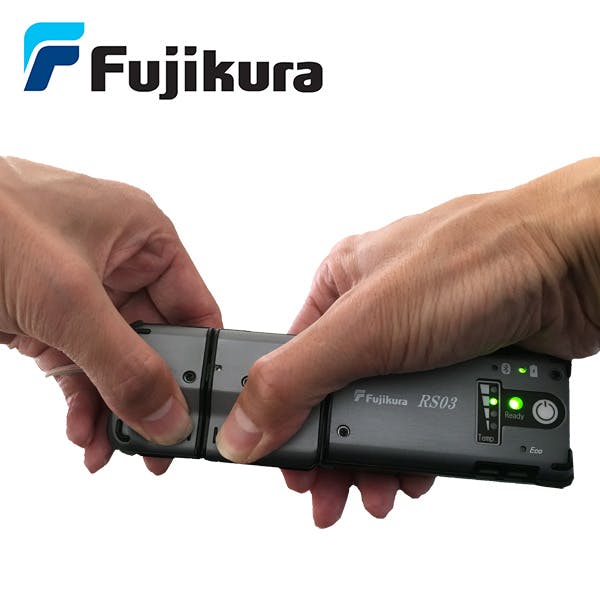
Currently, the industry-standard fusion splicer machines are from "Fujikura Telecommunications Company" and "Sumitomo Electric" In this tutorial, we will use the Fujikura fusion splicer.
Below we will learn only the basics of fusion splicing.
Material/tools needed: Fusion splicer, cleaver, splice protector, ribbon heater/stripper, lint-free pads, and a fiber cleaning solution.
NOTE: Ribbon TIE cables can have many 12-pack bundles of fiber. They are marked with ink stamps on them on both ends for the technician(s) to determine they are working on the same 12-pack bundle. Preparation is vital to ensuring everything goes as planned. Having all your materials around you will be very helpful. Maintain a clean machine/working environment when possible, as dust or contaminants will affect the light loss of the splice. Avoid contacting the stripped fiber with anything. Fusion splicers do all the work if the machine is set to auto mode. **Do not forget to insert the splice protector on one end of the fiber pack before starting.**
Stripping the ribbon binding plastic: Test the heater/stripper on the low or medium setting as the tiny glass fibers are likely to be melted. Place the ribbon fiber into the fiber retaining clip. Close the fiber retainer once the ribbon fiber strands are correctly seated into the holder. Place it into the heater/stripper and engage the heating element button. After a few seconds, it should give you a visual or audible cue to go ahead and pull firmly on both ends. (see picture below) Effectively leaving the bare fiber strand separated from the plastic. The 12 strands are now bare and have melted plastic residue. Carefully use a lint-free wipe, dab it into a proper fiber-cleaning solution, and wipe it away at the delicate fibers. Sticklers fiber cleaning solution dispenser is suitable.
Ribbon fiber thermal stripper.
The above photograph shows a technician stripping the ribbon fiber.
Cleaving the fiber strands: After you have stripped the jacket from the ribbon fibers and they are squeaky clean, you can begin the cleaving process. The fibers should be retained in the magnetic holder. Precision cleaving blades may dull after many uses. Be sure to replace or rotate the blade to ensure a square cut of the fibers. Now, when ready press firmly on the cleaver to shear the fibers.
Precision Cleaver:

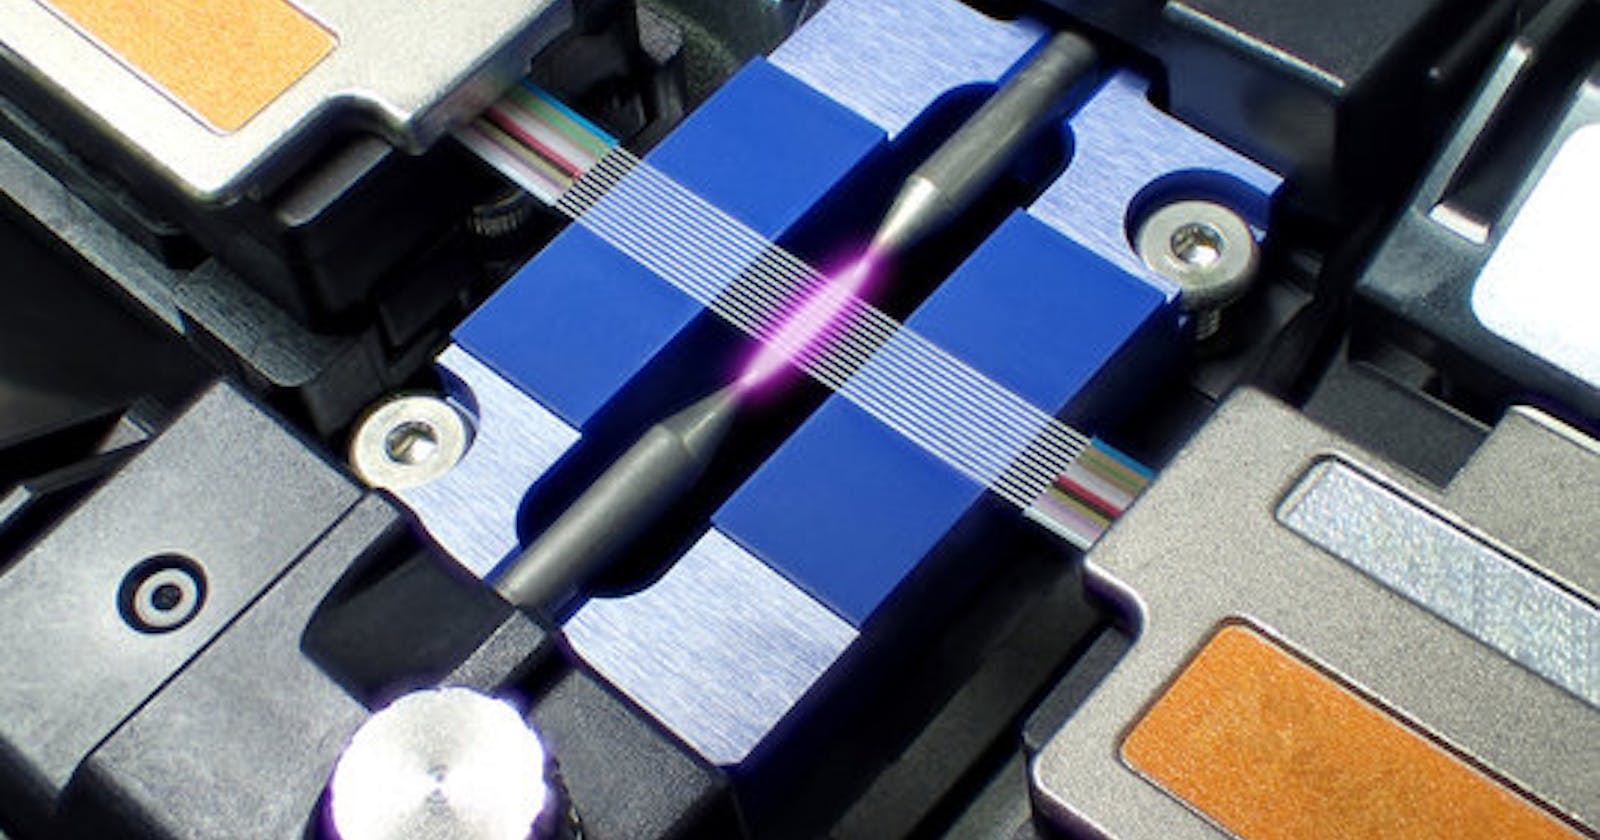
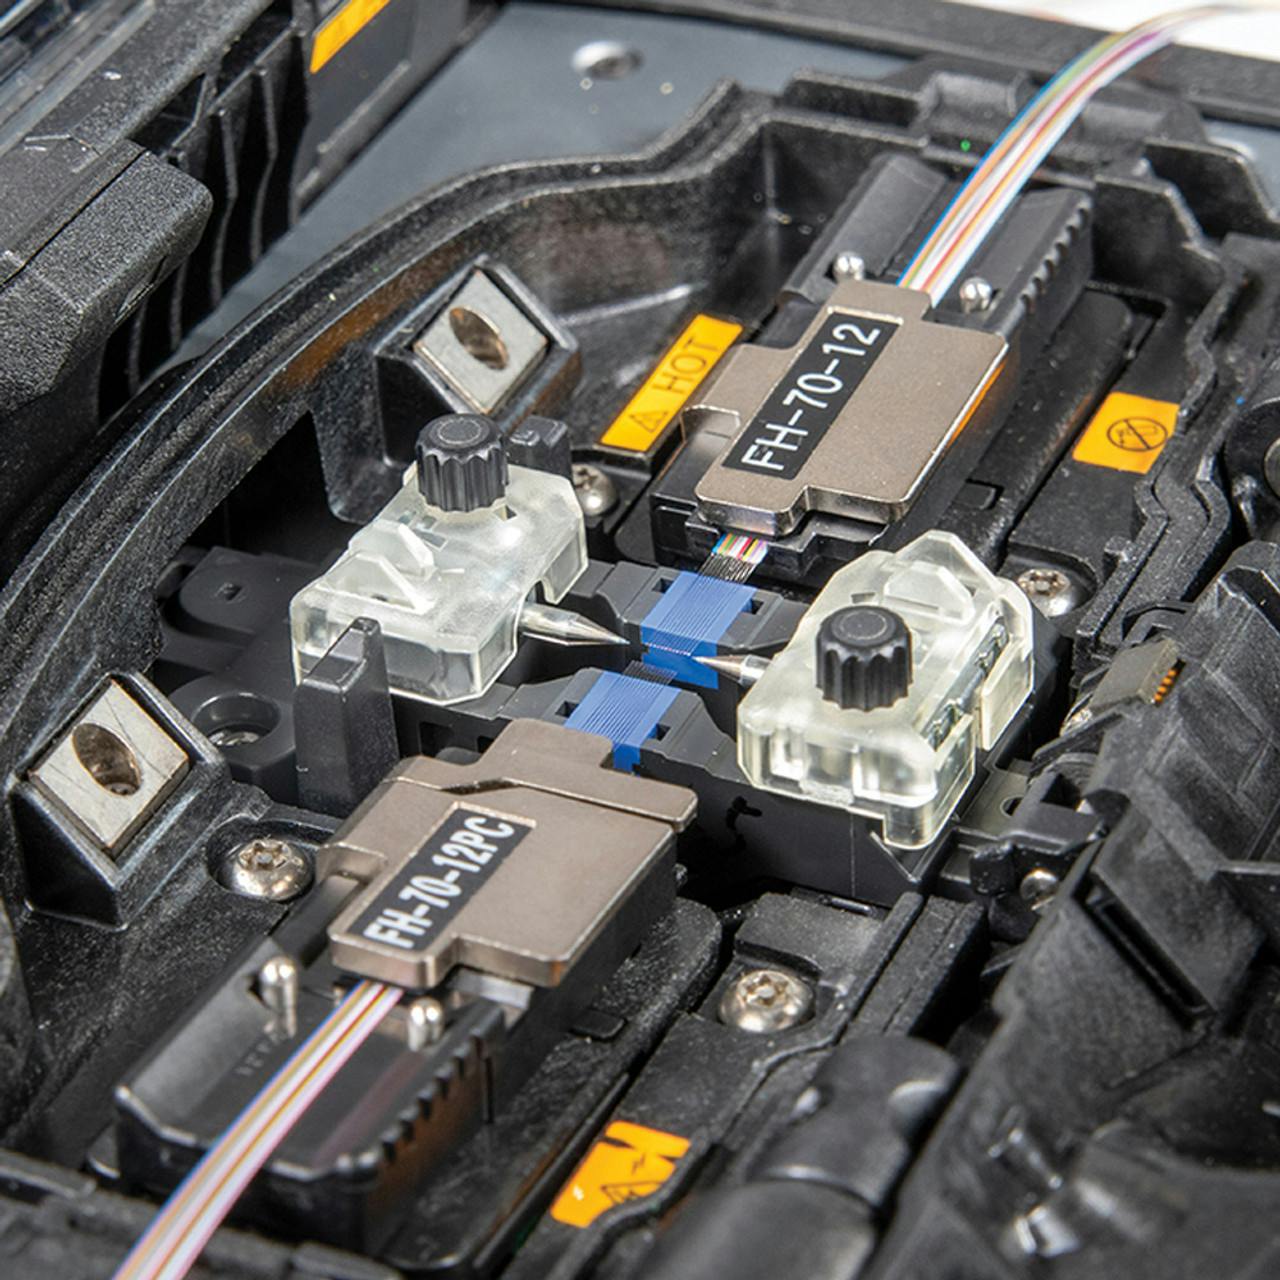
Splicing the fiber: Place the fiber retaining housing clip into the fusion splicer. It is assumed you've done this on both ends of the ribbon strands(TIE cable and the pre-patched panel end). Place both the fiber retaining clips into both ends of your fusion splicer. Go ahead and set the machine to auto mode; this feature automatically adjusts the X and Y axis to become aligned with the other pack of fibers. Now we will begin with the exciting part. The fibers and machine should look like so:
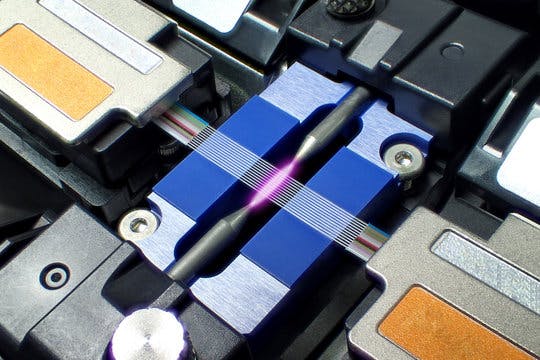
Fusing 12 strands with an arc: The fusion splicing machines generate an arc between two tiny electrodes while the motors automatically adjusts the strands on the X-Y axis in real time to ensure an excellent splice. The newer, more advanced machines also use an algorithm to address the abnormalities in the splice. Below is a picture of the arc that essentially welds the thin glass strands, you will not be able to see this in person due to the safety shield being engaged.

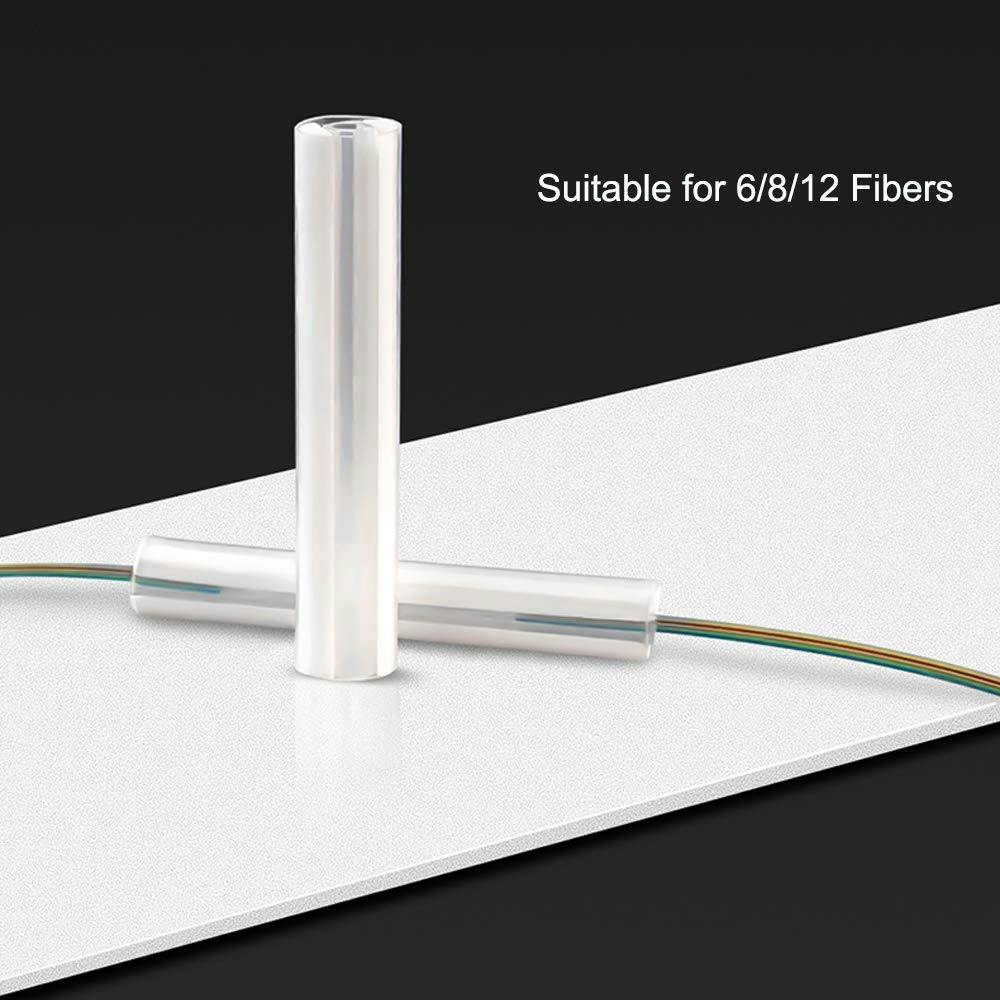
Protecting the splice point: After the splice has been completed the machine will estimate the light loss of the splice sometimes you can even get the light loss to 0.00db! Carefully open the main housing to expose the retaining clips holding the fiber, open them to release the 12 ribbon fiber pack. I mentioned in the beginning of this tutorial to not forget inserting the fiber splice protector on one end before you begin. Go ahead and remove the fiber ribbon pack from the machine and gently glide the protector onto the splice point. Insert it into Fujikura's heater core (located at the top of the machine) and shrink the splice protector around the bare fiber strands.
Cable managing the splice: Place the core of the splice now into a splice housing retaining tray. Proceed to cable manage the ribbon it take the shape of a "8". As always, avoid tight angles of the fiber to prevent macro bends causing light loss due to refraction.